

Creating for Baby- Artisan Hop
Creating the precious cards for a baby can be so fun and easy with Stampin’ Up! products.
One of the things I love to create for a new mom is thank you cards. They are showered with gifts as they wait for the precious baby to arrive and it’s nice to have a hand stamped thank you card ready to go when you need it.
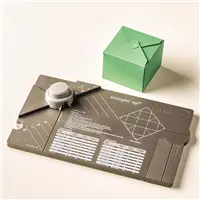
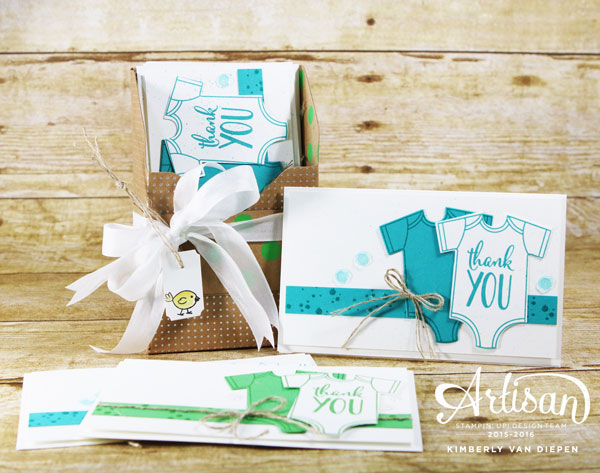
Normally I create 8-12 thank you cards for the new mom and bundle with a nice ribbon around the cards. Today I have another way that you can keep the cards together in a fun box using the Gift Box Punch Board.
Gift Box Punch Board
This has been one of my least used punch boards and I had to giggle at myself when I started to use it. I was totally intimidated by this product. WHY on EARTH?? It’s so simple. I should have known because Stampin’ Up! always tries to make things easier for crafters like us.
It was only a matter of pulling the punch board OUT and playing with it. It’s the perfect addition to a craft room. I am crazy for not using this sooner.
Get Crafty
Let me share what I created today.
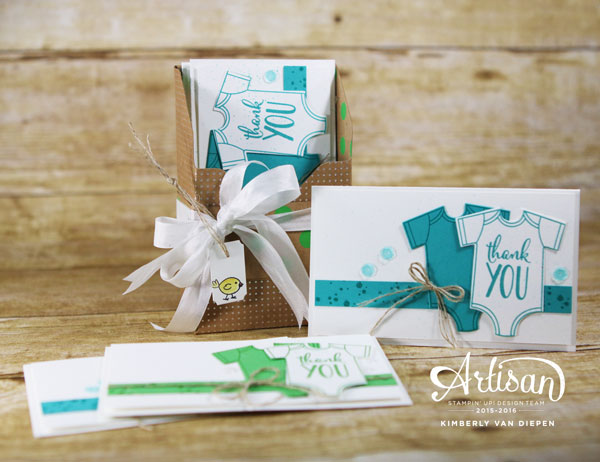
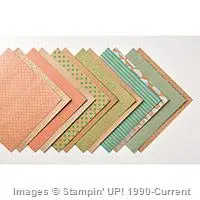
The box was created using the Shine On Designer Series Paper from the Occasions catalog. This paper is thick and perfection when creating any type of box. Plus the designs are fun for any baby project.
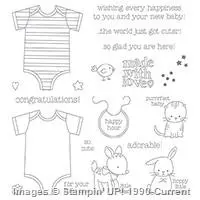
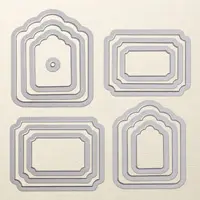
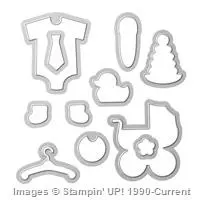
The cards are quick and easy using the Made with Love stamp set and Baby’s First Framelits Dies.
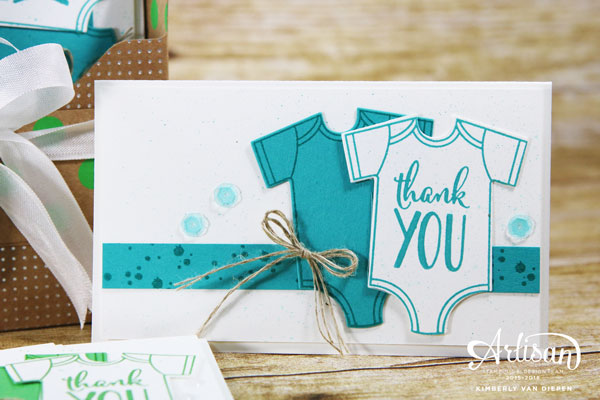
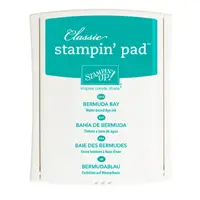
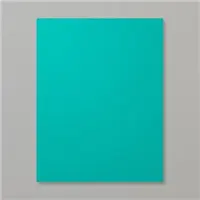
I made two versions of the card using the colors Bermuda Bay and Cucumber Crush.
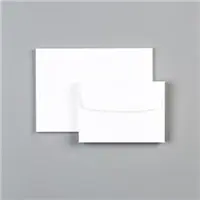
These are created using our White Notecards, however I trimmed them down 1/2″ across the bottom to fit in my box (3 x 5). Normally the Notecards measure 3-1/2″ x 5″.
Each card is layered with another piece of Whisper White cardstock and embellished using the Made with Love stamp set onesie image and a strip of coordinating cardstock. I love how these turned out. Simple but cute.

The greeting on the onesie came from the stamp set Happy Happenings. Awesome greetings included with this set.
Creating the Box

Here is a video below on creating the box.
Supplies Needed to create box:
Optional is the tag I created using the Tags & Labels Framelits attached using Linen Thread.
Ribbon to tie around the box (I used Whisper White Seam Binding Ribbon -retiring)
12 x 12 Shine On Designer Series Paper
Cut your DSP down to the following sizes:
- 8 x 8 (box)
- 3-1/8″ x 4-3/4″ (inside back piece)
- 1-1/2″ x 12″ (belly band)
Use the chart on the punch board = 3.25 x 3.25 x 1.75
Your start line will be (L) and your diagonal line will be (S).
- Edge 1: Vertical, Horizontal
- Edge 2: Vertical, Horizontal, Diagonal
- Edge 3: Vertical, Horizontal, Diagonal
- Edge 4: Vertical
Once your box template is created, fold on all the score lines using your Bone Folder. Remember that when you create a box you want to make nice folded creases. This makes a huge difference in how your finished box will look.
Wrap a 1-1/2″ x 12″ piece of the Shine On Designer Series Paper around the box to create a belly band.
Tie a ribbon around the belly band and create a small tag for the box.

You can see all the products I used for this project on the clickable links below.
You might be asking… What do I do with the envelopes Kimberly? They will not fit into the box. I bundled the envelopes together and tied ribbon around them.
As crafters we can make it easy for a new mom to send her thank you notes for all the fun baby gifts that she receives.
Time to be Inspired!
Be inspired today by visiting one of my favorites – Krista Frattin. Her work is always amazing and I can’t wait to see what she shares today.


The retired list for this year has been RELEASED!! Click HERE to view!
Remember, all accessories are while supplies LAST. Get your order in quickly if there is something you want.
Place an order in my Online Store and receive a FREE gift from me as well as a FREE class tutorial in the month of April.
I’m not foolin’ ya! Click HERE to shop!
Please be advised- If you hit the no contact button I have no way of sending your free gift or the tutorial.
This makes me incredibly sad as I appreciate your business and have no way of thanking you.


17 thoughts on “Creating for Baby- Artisan Hop”
Such a wonderful gift idea Kimberly! I love the way you’ve put together your gift box. I’m so glad you’ve made a video, I’m off to watch it now 🙂
loving all of that ribbon around that box! this is a great gift Kimberly!
Love how you altered the box, and the thank you cards are just perfect.
Just darling – love it!!
Adorbs! And fab video! What an awesome gift. I think I shall make up a few with birthday cards inside. 🙂
What a great idea! Love how the box is made. Awesome! X
Great alternative for the box and such a fun gift!
Kimberly!!! I love these. My sister is due with my 2nd niece ANY day now and this would be a perfect gift for her!! Thank you for sharing this with all of us–fabulous as usual!
Thanks so much for sharing your video Kimberly, lovelovelove this box with cute cards!
What a cute box! And I love the card collection, but I don’t think any mom would want to mail them out — they’re too cute!
oooh I love this idea. Glad you made a video otherwise I’d be scratching my head trying to work out how you made the box! Lol!
Super cute!!
What a cute idea! Thanks Kimberly! I am needing to make 2 sets of thank yous for a nephew & his wife and for a niece & her husband – & another set for a friend at church for her daughter – these will be great!
Thank you for reading. The box is super easy and the cards too. Enjoy. XOXO
Thank you. XOXO
It’s super easy and fun to create. I hope you can make some of them. XO
Pingback: Project: Baby Card Box – Stamping
Comments are closed.