

Honeycomb Happiness- Wednesday WOW
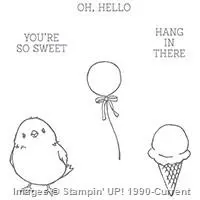
Yesterday I shared a fun card using Honeycomb Happiness and the sweetest little chic.
Today, I want to share a fun way to use the ice cream image on two different cards. Each card is the same design, I’ve just added a few extra layers.
Coordinating Products with Honeycomb Happinesss

Have you ever felt like you are on a scavenger hunt when you are tying to coordinate products together? Stampin’ Up! has always done a fantastic job of doing this for us, but sometimes I like to look for other ways outside of what they have coordinated for me already.
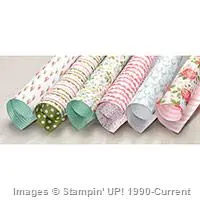
For instance, Honeycomb Happiness is a Sale-a-Bration set that you can receive for FREE with every $50 purchase. AWESOME! What makes this set great is that it pairs beautifully with the Birthday Bouquet Suite. From the designer paper and accessories… it can make for some really fun projects.
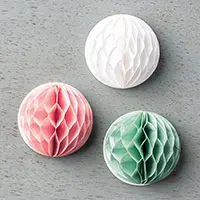
I decided to use the Birthday Bouquet Designer Series Paper and Honeycomb Embellishments for my ice cream card.

If you look closely I also added a strip of Burlap Ribbon across the card front underneath the die cut label. I loved how the texture of the burlap ribbon matched the look of the ice cream cone.
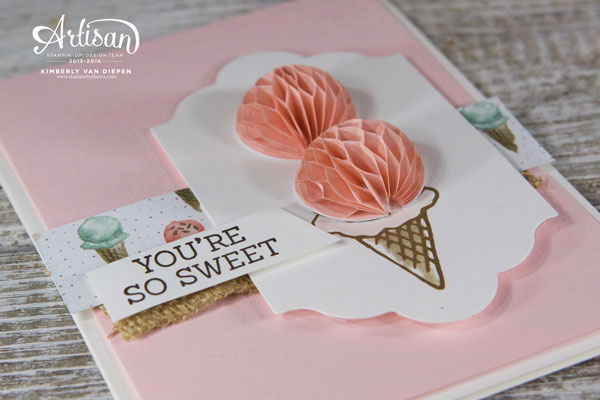
The Honeycomb Embellishments added the perfect touch to the ice cream cone. While these embellishments are 3D- meaning they can make a card bulky, remember they will still look fun even if they are a little mashed. They can spring back into place – for the most part. Otherwise… think of it this way, it’s the PERFECT excuse to HAND deliver as card.
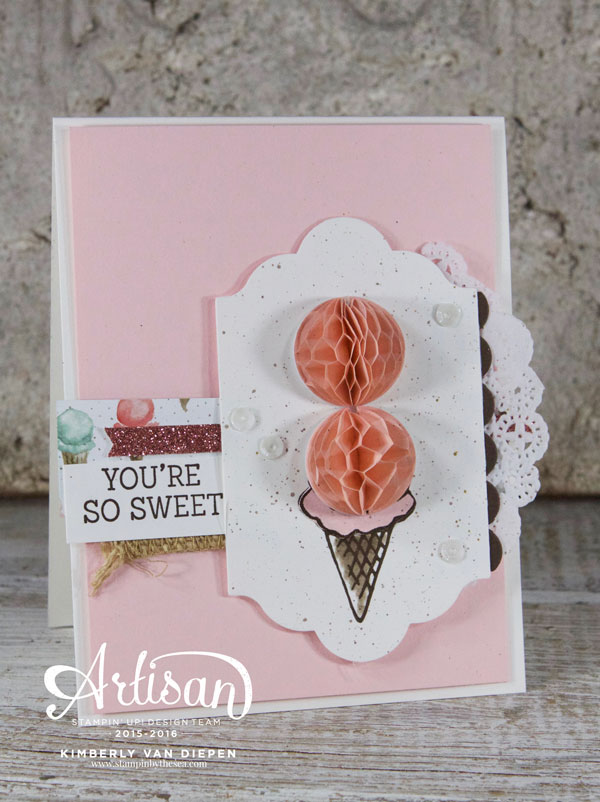
To shimmy this card up a bit I decided to add a few layers of ink, doilies, sequins and cardstock.
Let’s see what I did.
Tips and Tricks
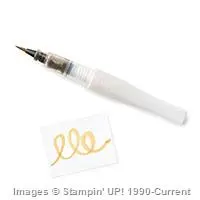
- Ink splatter was created using an Aqua Painter and ink from my classic ink pad. Just tap the Aqua Painter and let the ink splatter. Be careful not to over splatter. Thats a quick way to make a card go from super cute to “What is this mess?” Remember this post HERE?
- A simple piece of Blushing Bride Glimmer Paper added the sparkle.
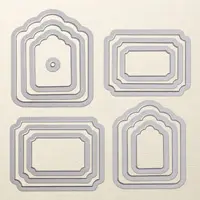
- The scallop edge came from the Cutie Pie Thinlits. Don’t forget the hidden treasures of dies you have.
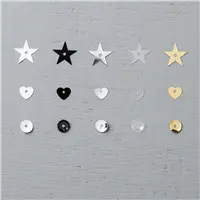
- Sequins are budget friendly and perfect addition to a card. Use the Fine-Tip Glue pen for precision glue every time.
- You will also see that I added a layer of cardstock on the ice cream image. I wanted to add a bit more color than what I was getting from ink.
- I added the burlap ribbon again, this time fraying the edges a bit.

Notice for this card the greeting is tucked under the label instead of over the label. It’s a a subtle change, what do you think?

There you have it. Honeycomb Happiness is a delightful set that you can create simple eye pleasing card using very few steps or a few more added steps. Either way, it’s going to be pretty.
Time for you to weigh in. This is my FAVORITE part. I want to hear from you. Which card do you like better? Which card would you see yourself making. Leave me a comment letting me know.
***NEW Stamps in the Mail!***
Click HERE to see what’s NEW with this GREAT program.
February Gift With Purchase
New Gift with purchase & New Tutorial!
Simply use the Hostess Code below when placing your order of $25 or more.
Spend $50 and receive a FREE Sale-a-Bration product. 


3 thoughts on “Honeycomb Happiness- Wednesday WOW”
Hi Kimberley! What a sweet card! Love those honeycombs! I would make this card using a mash up of your ideas: love the added cardstock colors on the ice cream and scallop, the splatters and sequins, and the sentiment over the mat as in card #1. OH! Also love the glimmer paper!!
Kimberly, it’s definitely card #2 for me. Everything about it. Don’t get me wrong. There is not a thing wrong with card #1; it’s a perfectly respectable card but card #2 makes my heart go pitter-patter?
Love the simplicity of card one and I feel a Case coming on … My ladies would love this! Card 2 would be perfect for those rare times when I have a little more time to create a special card for a special someone, just love all the layers.
Comments are closed.