Skip to content
Home
Techniques
About
Contact
Home
Techniques
About
Contact
Category: Celebration
December Tutorial Bundle Blog Hop
December 2, 2017
READ MORE »
New Tutorial Bundle Team & Hop!
August 2, 2017
READ MORE »
Happy Celebrations-Artisan Hop
May 18, 2017
READ MORE »
Inspiring Monday-Card Buffet
May 8, 2017
READ MORE »
May Tutorial Design Team Hop
May 2, 2017
READ MORE »
Celebrating with TGIF Team
April 28, 2017
READ MORE »
Favorite Season-Be Inspired
April 27, 2017
READ MORE »
Special Reason For Special People!
April 24, 2017
READ MORE »
Oh So Succulent
April 20, 2017
READ MORE »
So In Love-April Tutorial Bundle Hop
April 12, 2017
READ MORE »
Sweet Little Popsicles from Cool Treats
April 5, 2017
READ MORE »
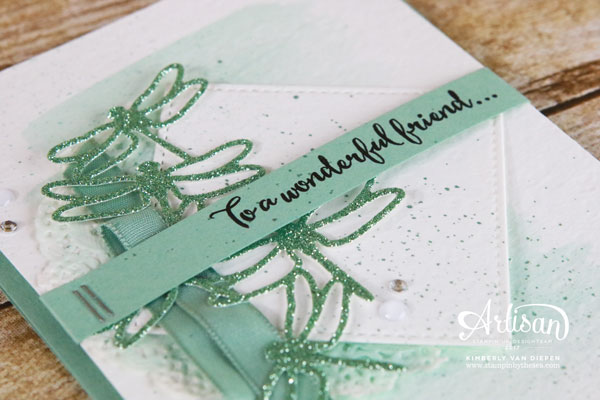
Glittered Dragonfly Wings
March 2, 2017
READ MORE »
Page
1
Page
2
Page
3
Page
4
Page
5
Scroll to Top