

I think it's completely fair to say this week has been SLOW going. This morning however I was in FAST mode when I rolled over and looked at the alarm clock in sheer panic! My first thought was, "NO! I can't start my day off like this!" Yep, I did! Totally slept through my alarm clock and Brandon missed Chorus. I was crushed because I haven't done this ALL year. Brandon obviously didn't care because when I woke up I ran to his room and he wasn't there. He was dressed and ready for school and enjoying the music playing on my alarm clock. <sigh> Needless to say we had a little chat about the alarm clock and if he hears it playing maybe he should think about coming to wake me up. I was bound and determined to make this a great day and I was fairly successful. I stayed in my pj's all day and enjoyed every minute of it. I was productive and stamped and finished a class for this month that I'm pretty excited about. I will be sharing soon.
Tonight I am going to share a card I made a few weeks ago with my friend Lisa. I used the stamp set Strength & Hope. This can purchased on May 1st from our Summer Mini Catalog. It's a beautiful stamp set and $2 from each set sold will go to The Breast Cancer Research Fund. I am really excited about this.
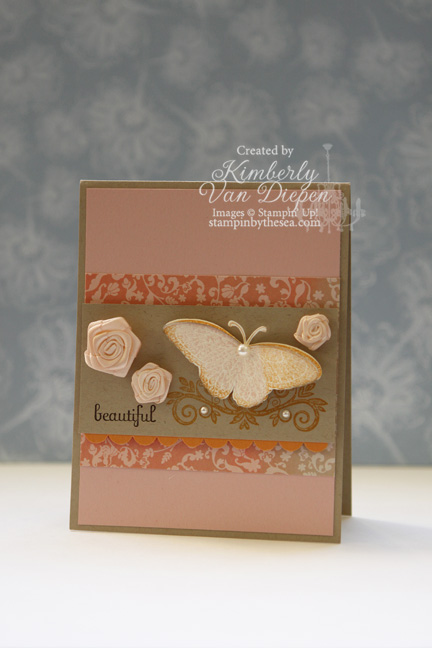
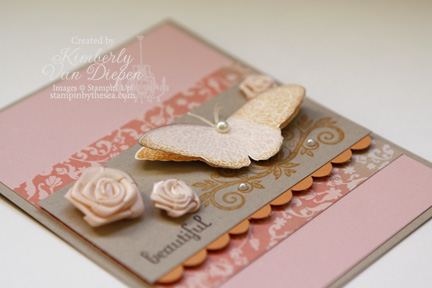
What I love about this card is the beautiful Rosettes that I dyed using a Blushing Bride re-inker. The Rosettes turned out very soft in color. I loved how they looked. If you want to dye your Rosettes just put some water in a shallow dish with a few drops of a re-inker of your color choice. You can continue to add the re-inker until you get the desired look you want. Use a tweezer to pull the Rosette out of the dyed water and set on a paper towel to dry. They will need about an hour to dry. I adhered these onto my card using Mini Glue Dots. Remember, the Rosettes are only available until the end of the month!
To add more life to the butterfly I stamped it twice onto Very Vanilla cardstock and cut out both images. Then I stacked the two butterflies together in the center and placed on the card with a dimensional. Below you will find all the supplies to make this card. Most of the products you can purchase now in my Online Store. Don't forget the Grab Bags in the store either. GREAT products for a GREAT price! You are silly not to get at LEAST one…or TWO! <smile>
Stamping these butterflies makes me want to plant a butterfly garden. Wouldn't that be fun?
Materials Used:
Stamps: Fabulous Phrases, Strength & Hope
Ink: Early Espresso, Peach Parfait
Cardstock: Very Vanilla, Crumb Cake, Peach Parfait, Blushing Bride
Accessories: Scallop Edge Punch, Paisly Prints DSP, Basic Pearls, Rosettes,
Have a fabulous day and thank you SO much for dropping by! If all goes well I will have a new video for you tomorrow night that I am pretty darn excited about.


3 thoughts on “Yep, I Did!”
Honey its GAW-JUS! Love it! :))
A beautiful card – clean and simple yet rich looking!
That is a beautiful card! I love the color combination too! Thank you for being such an inspiration too! I will pray for your Prince's safe and healthy return as well. God bless you all for your sacrifice!
Comments are closed.