

Try This Technique Using Framelits!
I have a fun technique that I played with over the weekend that I want to share.
I’ve used this technique before on a few cards but this weekend it really POPPED on the card I’m sharing today.
Weekend Catch Up!
This weekend Russ and Alexis left for a mission trip to Harlan, Kentucky. Brandon was paddling his way down a river with the Boy Scouts which left me …. ALONE.
This hasn’t happened in a long time. I took full advantage of my time and did a mix of work and relaxing. I was able to get a tremendous amount of stamping done which always makes me feel accomplished.
I had new stamp sets piled by my desk and each one of them was getting some inky love. That’s when this technique came into play.
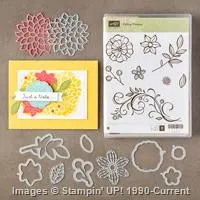
May Flowers Framelits
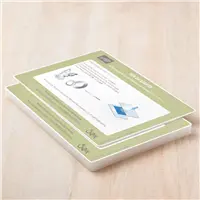
I started my card using the new Big Shot Platform.
At first glance I didn’t think I needed this NEW platform but after using it I can understand WHY everyone was so excited about it.
This platform die cuts your intricate dies with EASE.
The truth is, I don’t use these dies often because I am busy. As much as I love them, I find I don’t have the time to punch out each little piece of cardstock when they don’t cut passing through the Big Shot. The problem has been SOLVED.
The new Platform has an area in the middle section that is slightly raised making for an even distribution of pressure when the cardstock & die passes through.
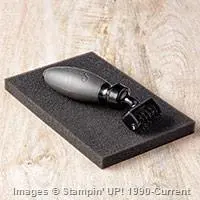
As you can see in the short video below, I then took my Die Brush and gently (it doesn’t sound gentle but it is) went over the die and WHAM- all of the small “chads” fell out.
This was brilliant and I used this platform ALL weekend long cutting intricate dies. I even went back into my older intricate dies to play with them. WOW.
Putting the Pieces Together

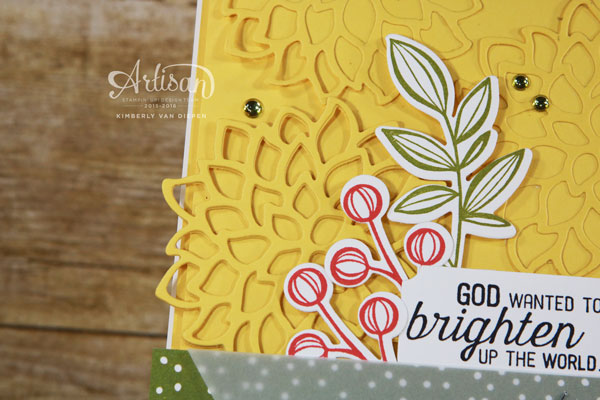
If you look closely you can see the layered die cuts on the large flower to the left.

Layering Die Cuts
Now let me tell you about the fun technique.
If you love to see more pop from your framelits, try layering your die cuts on top of each other to give a more thickness to the actual die cut.
How To:
- die cut 3-4 of your favorite framelit that you will use on your card. I used 3 layered die cuts to get the look I wanted for this card.
- Layer your die cuts on top of each other using the Fine-Tip Glue Pen to adhere each die cut together. Let dry.
Yes, it’s that simple. The results however are beautiful and easy to achieve.
Will You Try It?
The technique is simple, now I hope you will try it and see what results you can achieve from this simple technique. It’s a great way to create a simple card into a WOW card.
Tips & Tricks
Here are a few tips and tricks to help you create this card.
- The Fine-Tip Glue pen is essential when layering intricate die cuts. It makes layering easy and not messy. The fine tip on the glue pen keeps your glue on the tiny pieces you need to adhere.
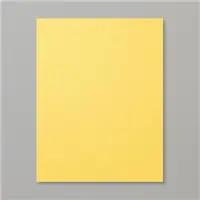
- To create this card I die cut 8 flowers. I adhered flowers onto a piece of the same color cardstock for the base of the card. This gave the card a beautiful texture finish. Don’t worry if each little piece is not stuck down to the base of the card. It gives the card character. Once you have all of the flowers adhered to the card base (Daffodil Delight cardstock) you can trim around the edges creating a clean edge.
- I added two more stamps and coordinating die cuts to this card from the May Flowers Framelits and Falling Flowers stamp set using Watermelon Wonder and Old Olive inks.
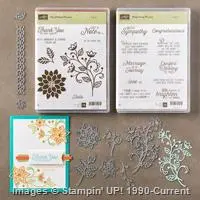
- The greeting was stamped using the Flourishing Phrases stamp set.
Ready to have your OWN new Big Shot Platform? Click HERE to order yours today!
You can see all of the products I used for this card in the clickable links below.

Did you know this stamp set and framelit is a bundle?
Save money when you purchase the Falling Flowers bundle and you will be on your way to creating this fun technique using this bundle.
Click HERE to view and purchase. See below how you can earn rewards when you purchase from me.


New to My Website?
- If you are new to my site you will learn I love to thank my customers when they purchase from my Online Store. You will receive a special gift and a free class tutorial when you make a purchase. You will also receive a hand stamped card from me in the mail. I do appreciate you! Click HERE to browse new Stampin’ Up! products.
- Are you looking for new ideas to keep you inspired? Sign up for my email Newsletter. I have projects with tutorials you can save and enjoy when you want. Click HERE to subscribe.
Have an AWESOME Monday and thank you for taking time to visit. Tell me what you think of today’s card. Will you be trying this technique? I’d love to hear from you.
XOXOXOXO


1 thought on “Try This Technique Using Framelits!”
Pingback: Falling Flowers is Irresistible! - StampinByTheSea.com
Comments are closed.