

More Sneak Peeks & Jolliness
Happy Friday! This was a FAST week and I’m ready for the weekend.
There is going to be a whole lot of jolliness if I can get my Christmas tree up!
Tree decorating is #1 on the agenda and I’m hoping the people in my house are ready.
Today I have another sneak peek and a Christmas card. We’ll call today Double Whammy Day!
Let’s Be Jolly By Golly!
Before we get started… I have to give a shout out to my readers.
I am still cracking up over the comments and emails I received from Wednesday’s post… and my procrastination.
Seriously I was laughing out loud over them. The panic I caused over a missing doily had me laughing in tears. Oh the joy you bring me. NOT kidding.
I love this community.
The other day Stampin’ Up! posted a video on the Chalkboard Technique you can see HERE. I’ve done this technique before but it totally inspired me to create a card using the technique.
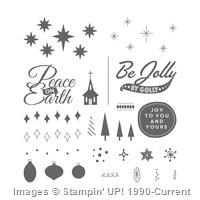
As I searched for a stamp set to use for this technique, the Be Jolly, By Golly stamp set came to mind right away.
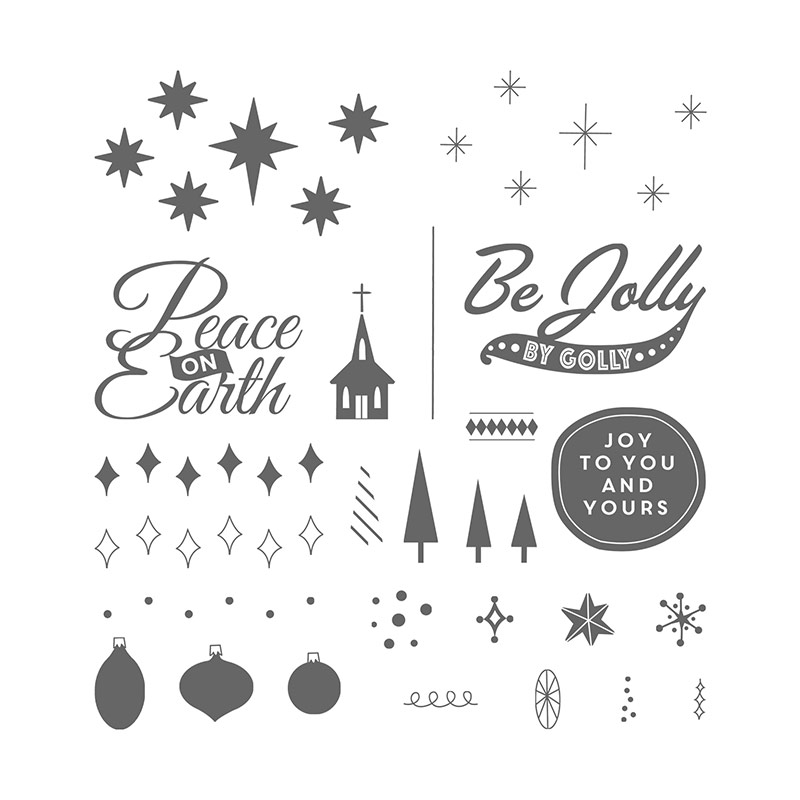
This modern holiday stamp set has awesome typography that is perfect to create a fun chalkboard art card.
Tips & Tricks
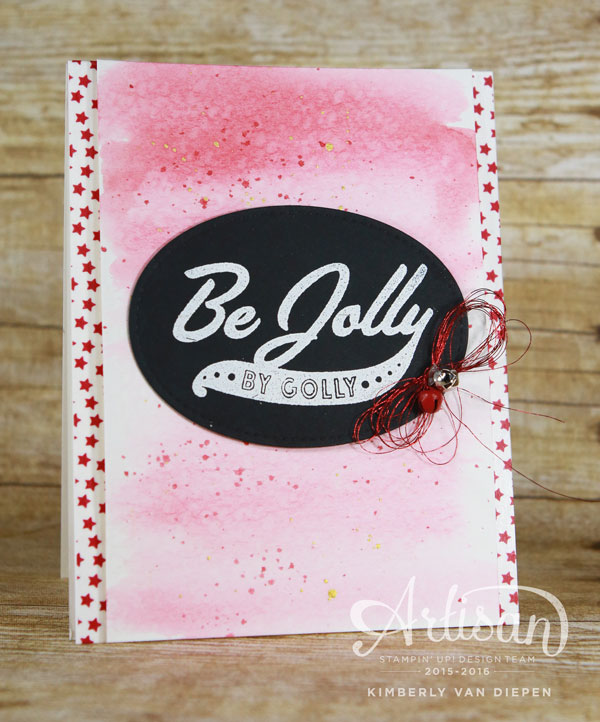
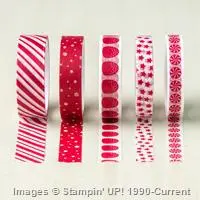
This was a very quick and simple card to create and perfect use of the Candy Cane Lane Designer Washi Tape. The exciting news… the Washi Tape is on sale too. YES!

- The background was created by watercoloring Cherry Cobbler ink over Watercolor Paper (3-3/4″ x 5-1/2″).
- I added Splatter over the watercoloring once the ink was dry.
- Washi Tape was added to the edges of a piece of Whisper White cardstock (4-1/4″ x 5-1/2″). The Whisper White cardstock was added to the card base using dimensionals.
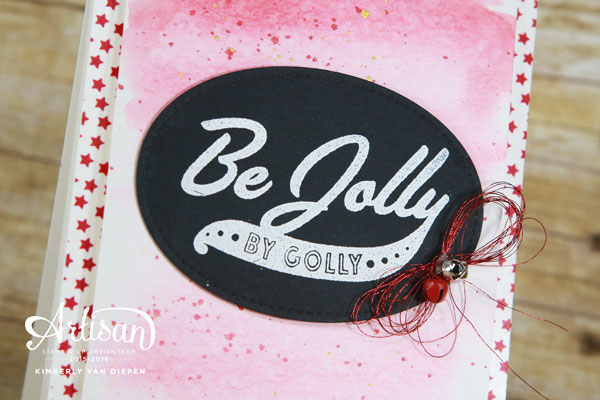
- Create the chalkboard art by using Whisper White ink onto Basic Black cardstock then heat emboss using White Stampin’ Embossing Powder.
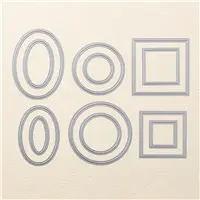
- The cardstock was die cut using the Stitched Shapes Framelits.
- NOTE: The Stitched Shapes Framelits is currently on backorder but will be back in my Online Store in January.
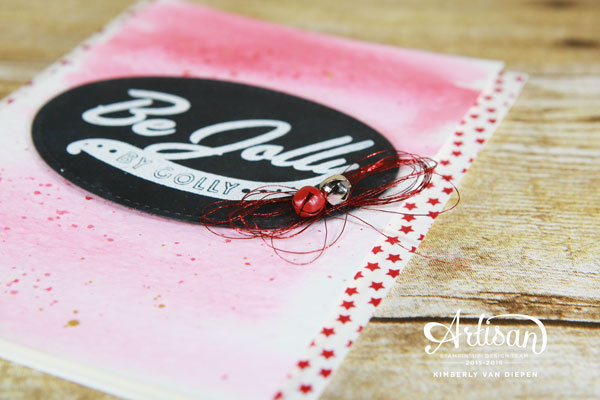
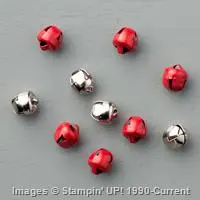
- Wrap Red Metallic Thread several times to create a bow. Tie in the center and add small jingle bells. Attach to the card front using a Mini Glue Dot.
Click the clickable links below to purchase any of the products used to create this card.
Another Sneak Peek & Gift Bag
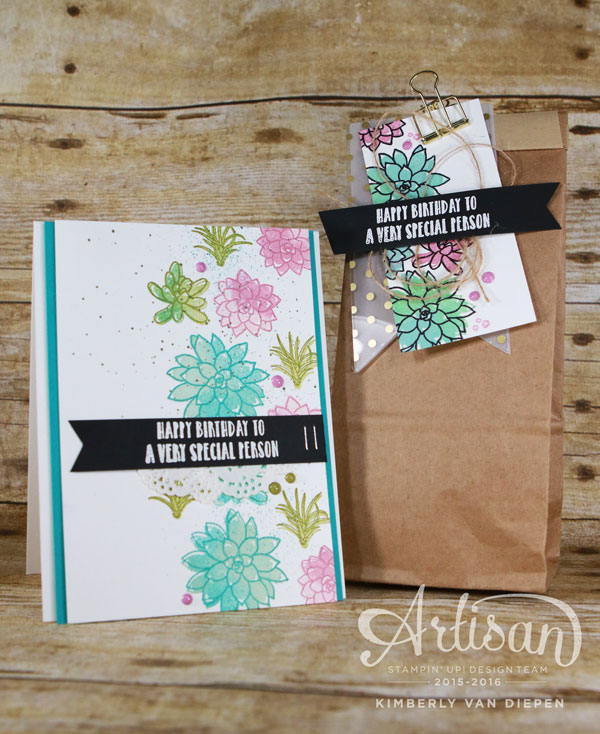
I shared a sneak peek of the Oh So Succulent stamp set HERE a few days ago.
Today I’m sharing a card and gift bag combo.

One of the many reasons I love this stamp set is the two step stamping.
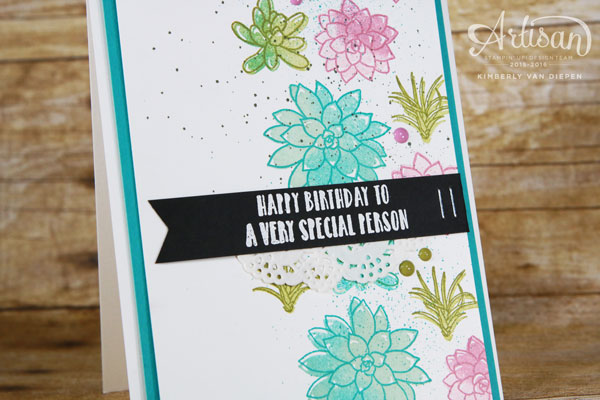
The entire suite of products that coordinate include one of my new favorite colors- Sweet Sugarplum.
OH MY I love this color. You can see how I used this color in this card.

Keeping with the same color scheme, I created a gift bag to coordinate with the card.

Now… for my embellishment lovers…
You will notice that on both the card and the coordinating bag I’m using two of my favorites
- Delicate White Doilies
- Enamel Shapes
Another AWESOME product that I’m using and loving is the Fabulous Foil Designer Acetate. I used this product on the banner find the flowers on the gift bag. This Foil Acetate is gorgeous and makes for a really fun background on any project.
Remember…
Starting December 1st Stampin’ Up! Demonstrators get to PRE-ORDER from the new Occasions catalog.
This is a BIG deal and a huge perk of being a demonstrator -and- the Oh So Succulent stamp set bundle can be a part of your stamping starter kit.
The good news is you can PRE-ORDER too. If you have been on the fence about becoming a demonstrator why not start now and fill your starter kit with NEW products from the Occasions catalog.
This could be the perfect Christmas gift to yourself. Start the new year off with an amazing opportunity of becoming a demonstrator.
No Obligation! Ever!
Remember, you are never under any obligation to do anything except HAVE FUN.
You never know what that mighty box of stamping supplies may become and it’s only $99!
PLUS… you will join a community of stamping friends that are amazing. We love to share creative ideas, business tips and most of all we have fun.
If you are interested but have questions, simply contact me. I would love to talk with you.
You can see my information in the top right of my blog or click HERE and get started.
Don’t Miss This Sale!
Make sure to check out this close out sale. For instance… the Layering Circles Framelits is 50% off. OH MY WORD! Awesome!!
Click the photo below and start shopping. Receive my December Tutorial FREE when you purchase $50.


2 thoughts on “More Sneak Peeks & Jolliness”
Gorgeous as usual!!! <3 I hope you get your tree up today! That's on the top of my 6 year old's agenda… that and somehow give our Elf some magic. He's been sitting around for days. Time to blast the Christmas music!!!
Great CAS Christmas card! You make it look easy… Love your sneak peak! Those colors are fabulous! The images on the bag with the black outline are so pretty!
Comments are closed.