

Celebrating a Teenager!
Can it be that my baby is really a teenager?
A few weeks ago I told you we were working on invitations for Alexis and I’m super excited to share.
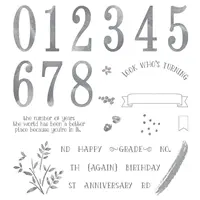
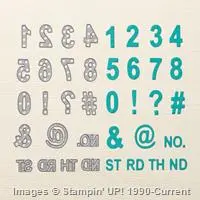
I have to admit that Stampin’ Up! saved the day once again. The new Occasions catalog had the perfect stamp set to work with- Number of Years!
Handmade Happiness
There has not been one year that my princess has not had a handmade invitation. That’s truth. She was only 6 months old when I started my journey with Stampin’ Up! and she’s had a handmade invitation ever since.
The only thing I have to deal with now is her approval of the actual invite but I love that she is part of the creative process with me.
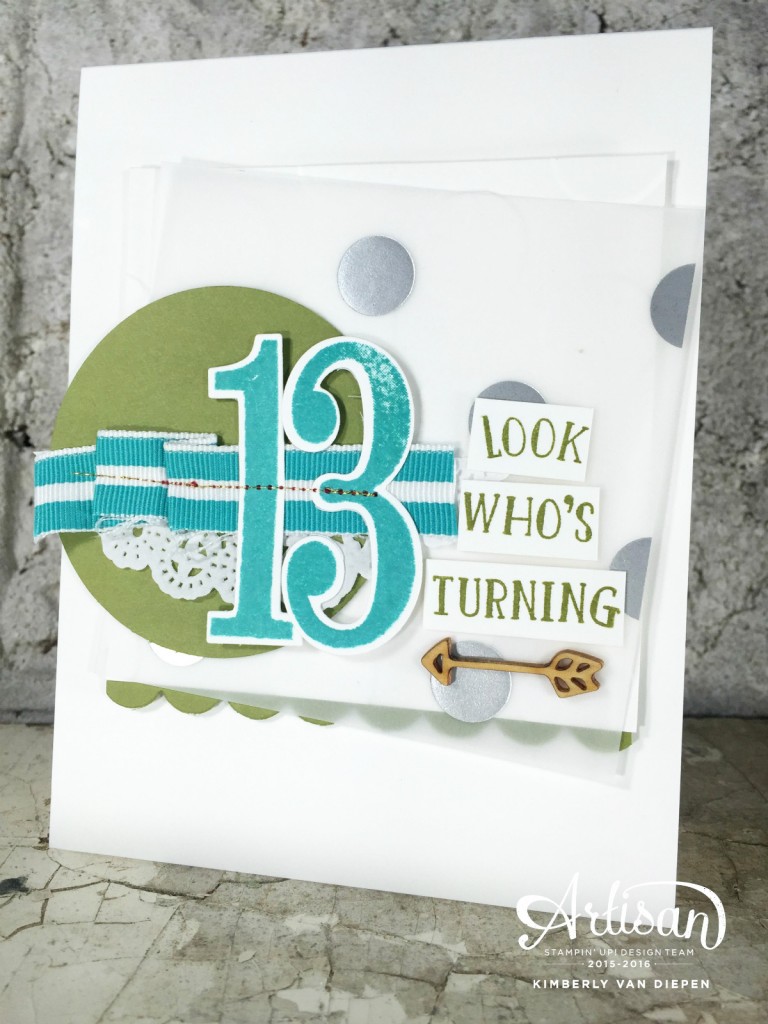
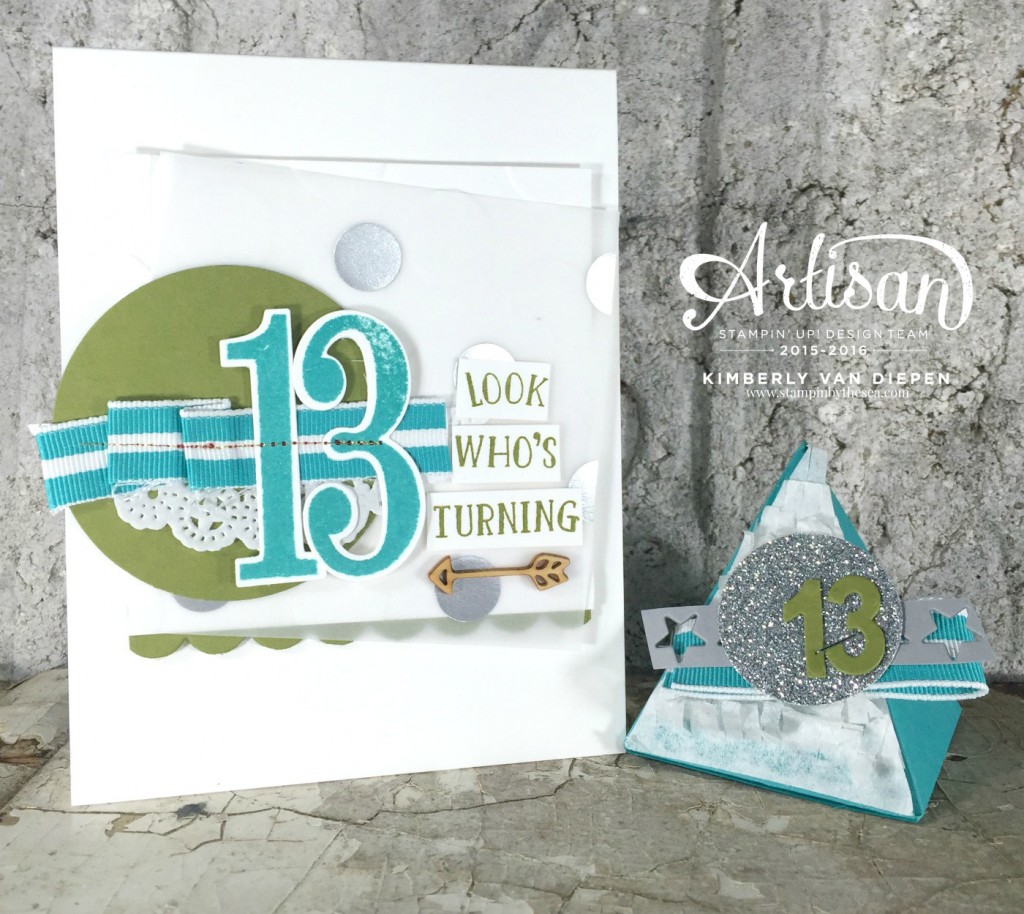
Turning 13 is a BIG deal. How soon I had forgotten but she has reminded me daily.
Once Alexis had the colors picked out it was my turn to make it happen. I think we did okay, what do you think?
You might be thinking to yourself, “Stitching?” Are you for real?
Stitching on cards with a sewing machine is SUPER easy and FAST. It’s what keeps my elements on the card together and it’s a straight stitch. Honestly, you can’t screw it up. I have a regular home sewing machine I believe I bought at JoAnn’s many years back and it works like a dream.
I love how the stitching pulls the ribbon and numbers together and keeps them nice and tidy.
Creating a Party Favor

Tips and Tricks-
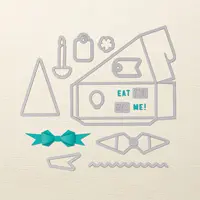
- Not only was the invitation easy to create this year so was the party favor. This adorable Pyramid Box was perfect for her to put a small trinket inside. Utilizing all the colors she had picked out and of course adding the big “13” made my girls eyes light up. She is a star at 13! I used the Little Number Thinlits on the box to create the 13. I love both the letters and number Thinlits. They are perfect for any project.
- I used Filter Paper on the front of the box along with a die from the Pyramid Pals Thinlits to create the frayed look. Once I had all the layers cut from the Filter Paper I used the Tombow Multipurpose Glue to keep it intact.
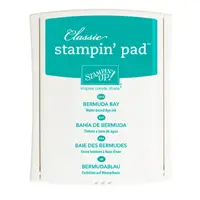
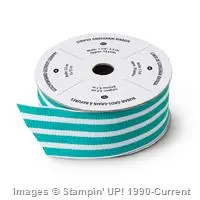
- I cut the 1-1/4″ Bermuda Bay Striped Grosgrain Ribbon in half with my Ribbon Scissors and was able to use for both the card and box.
- The Cutie Pie Thinlit was used to create the Old Olive scallop border at the bottom of the card.
- I used the Mini Treat Bag Thinlit to create the star border on the party favor.
- The wooden arrow element was used from the Memories in the Making Project Life Accessory Pack. You can switch out the wooden arrow with the wooden heart making 6 cards from one pack. Then use the remaining contents to create fun Project Life album from the event.
I encourage you to look at ways you can create handmade for any celebration. Not only does it make it special it’s a fun process to get family involved to create with you. Mothers, Grandmothers alike can enjoy the paper crafting together making memories along the way.
Below you will see all the supplies I used to create both projects.
New Month- New Gift with Purchase!
Any $25 order placed in January will receive a FREE gift from me PLUS my Exclusive January Inspiration Project Tutorials. Use the hostess code below.
Paper Pumpkin is on SALE. Click HERE to read all the news…
Become part of something EPIC… a community of stampers that is amazing… Join My Team!
Click the links below to view the products in my Online Store. Products with the price of $0 means they are Sale-a-Bration products.
For every $50 you spend from the Idea Book & Catalog or the NEW Occasions catalog you can choose a product FREE from the Sale-a-Bration catalog.


2 thoughts on “Celebrating a Teenager!”
Are you for real? This card is ridiculously adorb!!! Great job as always Kimberly!!!
Thanks Angela. XOXOXO
Comments are closed.