

Make Your Own Snow Globe
Snow globes are so beautiful and I especially love them this time of year.
I’ve had this idea running through my head for quite some time.
It’s an idea I had written down in my notes however I needed time to put it in place.
Can you relate?
Don’t miss these great deals today….. you can see all of the products on sales at the end of this post.

Mountain Adventure Snow Globe

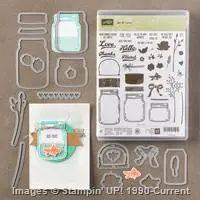
One of my favorite stamp sets is the Jar of Love and the coordinating framelits called Everyday Jars. This stamp set and framelits have AMAZING possibilities.
See how to create all types of snow globes and fun images to go inside your globe.

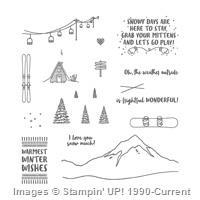
The Mountain Adventures stamp set has the perfect small images to create a snow globe.
Check out this fun color combination!!

Tips & Tricks To Create a Snow Globe
- The Stitched Shapes Framelits Circle die cut was used for the base of Snow Globe. The circle was die cut using Watercolor Paper.
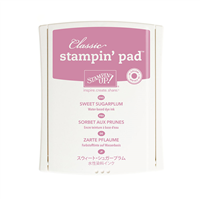
- Create a watercolor wash using Sweet Sugarplum ink over the entire circle. Let dry.
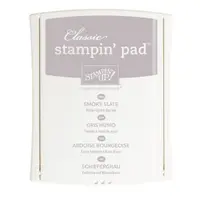
- Stamp cabin image onto circle using Soft Suede ink. Stamp snow using Sweet Sugarplum ink.
- Using Sweet Sugarplum ink, stamp two trees onto Whisper White cardstock, fussy cut using Paper Snips.
- Stamp Jar Lid from the Jar of Love stamp set and Soft Suede ink. Die cut using Everyday Jars Framelits.
- Card base measures 4-1/4″ x 11 using Whisper White Thick cardstock. Layer with Sweet Sugarplum cardstock (4-1/8″ x 5-3/8″).
- Cut Watercolor Paper to 4″ x 5-1/4″. Watercolor over middle section of paper using Smoky Slate ink. Once dry, stamp snow using Sweet Sugarplum.
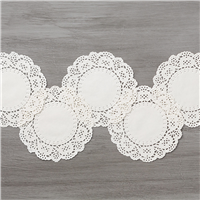
- Add a small piece of a doily under the circle for the snow globe you created. Attach the jar lid to the bottom of the circle using Snail adhesive. Attach trees using Mini Glue Dots.
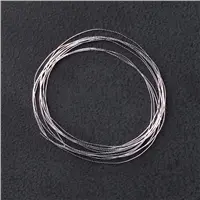
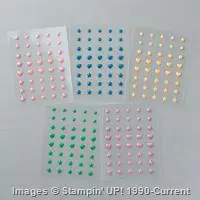
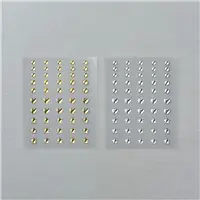
- Wrap Silver Thread in palm several times and lay onto Watercolor Paper, secure using a Mini Glue Dot. Attach Snow Globe to card front using dimensionals. Add Enamel Dots from In Colors and Silver Enamel Dots to accent the card.
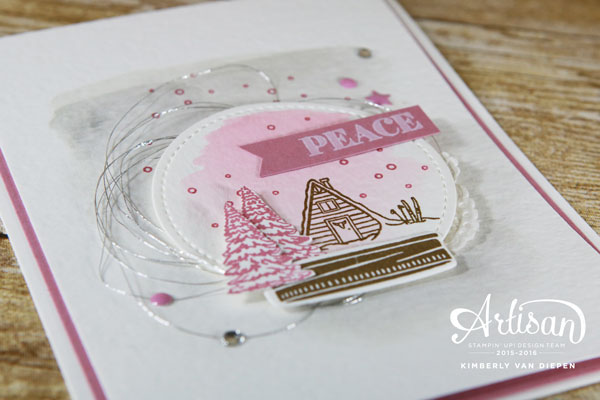
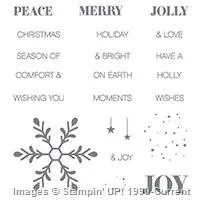
Lastly, stamp the greeting from the Holly Jolly Greetings stamp set onto Sweet Sugarplum cardstock and create a banner.

The Possibilities Are Endless…
Honestly, the possibilities for what you can put inside the snow globe are abundant. Especially with the gorgeous stamp selection we have. Take note of smaller images you have on hand to create all types of snow globes. Gather a list after looking through your stamp collection and start creating those snow globes.
Click the clickable links below to see all of the products used for this project.
Stampin’ by the Sea News!
Online Extravaganza Time- STARTS TODAY!
Starts Today until November 28th

Catch these products below TODAY only!
CLICK HERE to view the entire product line on sale today.
BRAND NEW product release.

You can get 25% off select stamp sets today until November 30th. YAY.
Click HERE to see all the stamp sets available. Get yours today.
Enjoy this week and let’s remember all of our blessings. Even better, let’s tell others why they are a blessing to us.


5 thoughts on “Make Your Own Snow Globe”
BRILLIANT idea!! Love it
Kimberly, this is so adorable. I love it. The colors you used are so lovely together.
This is beautiful! You have such a talent, thank you for sharing.
What a clever idea to combine the jar lid with stitched shapes! This snowglobe is absolutely adorable! Thanks for all the inspiration!
SO SO SO stinkin cute!!! Thank you for sharing your super creative ideas!!!
Comments are closed.