Embellish Cards with Ease
Do you struggle with applying embellishments to your cards?
Today we are going to look at little known ways to apply embellishments.
What I Call Embellishments
Sometimes we can be quick to think that embellishments are particular products.
For instance, my brain instantly thinks of the following products when I hear the word embellishments
- ribbon
- buttons
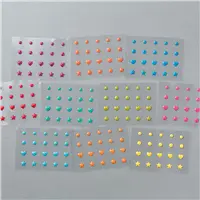
- enamel dots
- twine
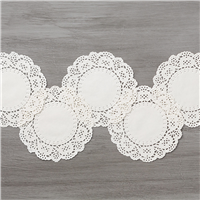
- doilies (let’s face it… I can’t live without these!)
While these are all my favorites and used frequently, I have a few others that I love and use more and possibly not thought of as embellishments.
- paper – YES! SO many great ways to use paper as an embellishment
- staples – I use them ALL the time.
- die cuts
- punches
Embellishing Can Be Simple

If you are a new stamper these little tips will help you when creating. I remember when I first started stamping the one thing I didn’t have a lot of on hand was embellishments.
One of the things I learned early was to use paper to embellish. Adding layers is simple with cardstock and even better when you can add texture to the cardstock and incorporate the layers.
Cardstock Banners
Banners are one of my go to favorites. I love the many ways you can create a banner with a simple strip of cardstock. I can fold it, create a “v” on the ends of them and even staple it where it needs to go.
Die cuts are another great way to embellish. Die cuts can add texture to any project and depending on the die cut or framelit you use, it will add layering.
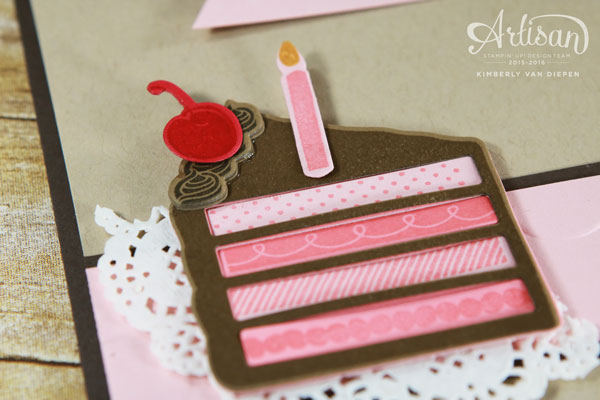
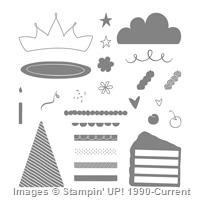
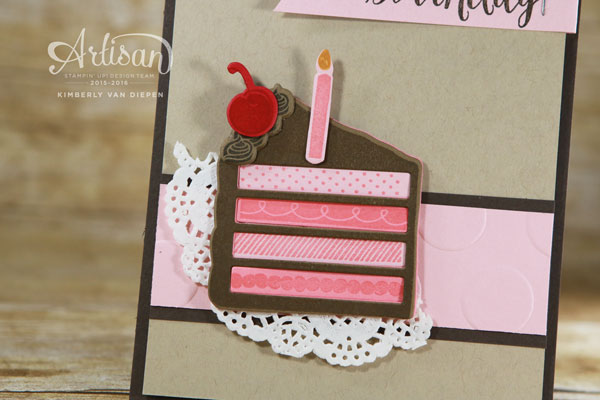
The Wish Big Framelits were perfect for this as each little piece added another layer of frosting, a cherry and even different slices to the big ole cake.

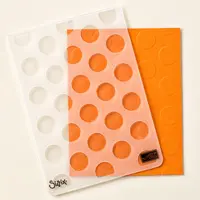
Don’t forget that a doily can add the perfect touch to a card. Another favorite is the Texture Impressions Embossing Folders. The Polka Dots are an all time favorite because it coordinates with so many things. It’s definitely a WIN WIN.
Another Cardstock Use- Double It!
Adding layers can be as simple as using a double mat on a card. I love to use a double mat of the same color which gives the card beautiful dimension.
You might be thinking…. what a waste of paper.
Here is my thought, and granite it’s only my opinion… paper or cardstock is one of the cheapest embellishments we have and provides the dimension so easily.
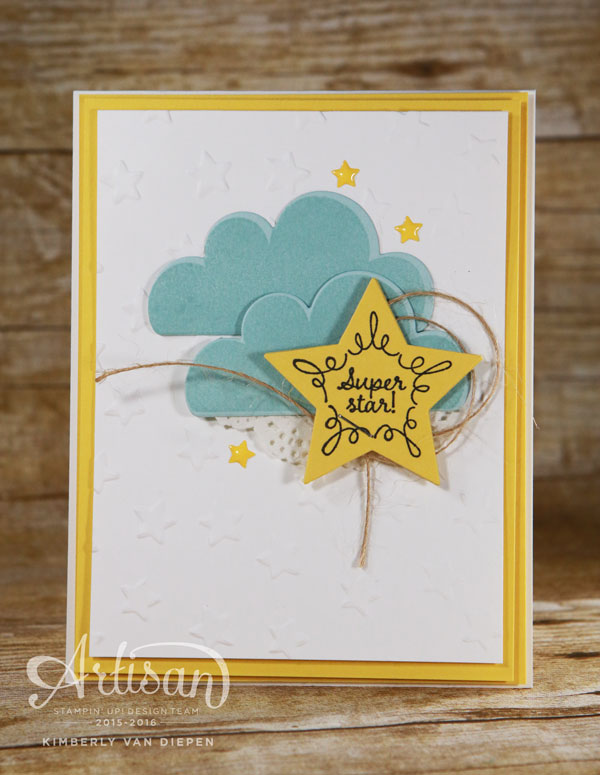
Think of doubling the cardstock on your die cuts.

For this card if you look at the star you will notice that is not a single piece of cardstock. The star was layered three times.
First I’ll tell you this was due to a mistake I had made. Yep. It’s one of those times a mistake turned into a treasure.
By triple layering the die cut it gives great dimension and makes the star appear like a thick embellishment. SIMPLE addition and fun.
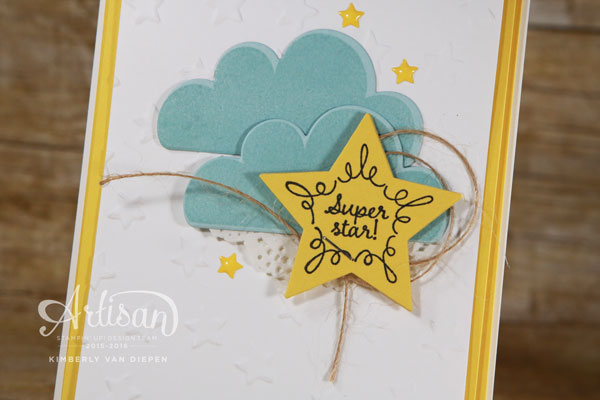
Adding twine behind the star along with a doily again not only adds a fun way to embellish the card but it also added simple embellishments.
Remember, a staple not only holds your pieces together but you can also color them quickly with a sharpie to accent them.
Using a stapler has been one of my favorite tools and definitely adds ease to creating for this lazy stamper that I am.
Really.. I am.

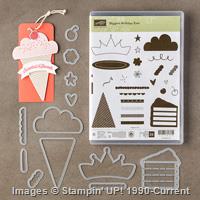
Biggest Birthday Ever Made Simple
Today’s cards use the Biggest Birthday Ever stamp set. I also shared two cards on Friday using this set HERE. My goal in sharing this stamp set was for a few reasons:
- Versatility- Biggest Birthday Ever stamp set doesn’t have to be ALL birthday. You can use the stars for a baby card or tell anyone they are a super star on other days besides a birthday. You can create clouds, or and ice cream cone… the ideas are endless.
- Show how you can use the framelits as embellishments.
- Share simple everyday embellishments
Quick Tip
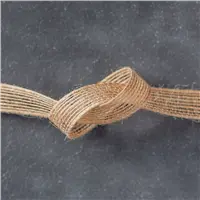
One of my FAVORITE embellishments to play with right now is the 5/8″ Burlap Ribbon. When you pull the threads on this burlap you are left with a very nice workable twine. This is the twine I have been using ALL the time. I love our Linen Thread, but this has a thickness just a smidge more than Linen Thread provides. Try it. You will see how easily this twine is to wrap and play with.

Your Turn To Create
I challenge you today to embellish your cards using cardstock. Try a banner, or fold one end of the banner to create a unique look. Take a framelit and triple stack to create dimension.
The journey of embellishing begins with trying. Try something new and fun to add a little uniqueness to a card.
Looking for ways to use ribbon, buttons and metal adornments to embellish your cards?
I have an Online class I created a few years back sharing fun ways to use these products. They are timeless and fun unique ways to embellish cards. Click HERE to view and purchase.
Last Tid Bits
Save 10% when purchasing this photopolymer set, Biggest Birthday Ever and coordinating Wish Big Framelits by purchasing the bundle – Item #142283.
See products used for today’s projects below in the clickable links and shop Online 24/7!
Place an order through my Online Store and receive a free gift and free Online Class.
Purchase over $50 and you will receive THIS CLASS tutorial for FREE!
Special Offers- NEW Promotion!
Click the photo below to view this weeks offers. Each week they change. Get this offer WHILE available.

PS-
I’m a little giddy… I have a new stamps in the mail created. It’s been on hiatus. It will be new and improved and the most exciting part is WE can stamp together again. Stay tuned….