


Happy day! I have another fun Ocean themed card using the same technique I shared the other day for this card HERE.
Let’s Create!
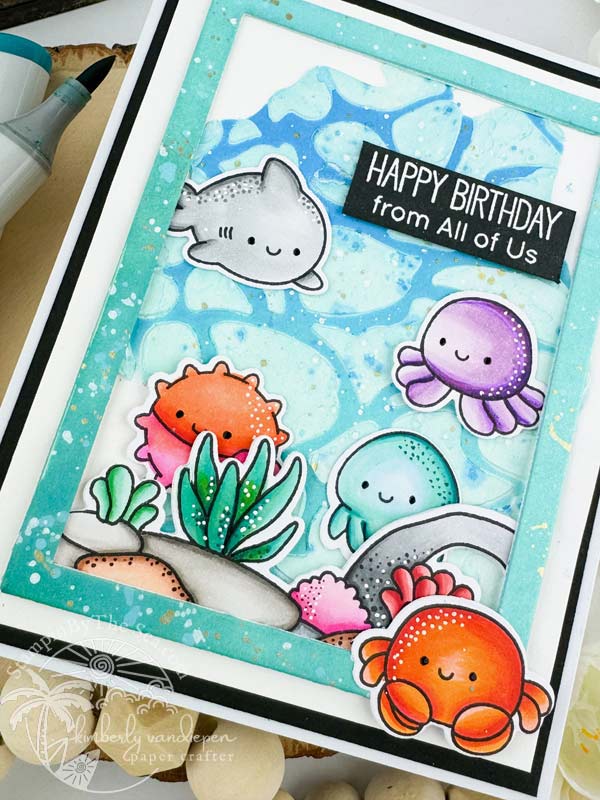
To start this card, stamp all of your sea critters from the Ocean Sized Hugs stamp set onto a piece of X-Press It cardstock using a Black alcohol ink friendly stamp pad. I love Lawn Fawn’s Jet Black or My Favorite Things Extreme Black ink pads. Both work great. Remember, heat setting each of these inks help to prevent smearing when you start coloring with your markers.
You can find the Copic Color combinations below used for all the sea critters and reef. To create the background, I used two stencils: Watercolor Wash Free Form and Perfect Pool Water Stencil from My Favorite Things. Since I was using texture paste, I started by using a 4 1/4″ x 5 1/2″ piece of Tim Holtz Heavystock cardstock. Placing the Perfect Pool Water first, then placed the Water Color Wash Free Form down over the first stencil to help me stay within the stencil lines. Next, add the texture paste to create an ocean water appearance. Once dry, I placed the Watercolor Wash Free Form Stencil back over the card front and ink blended using Tumbled Glass and Salty Ocean Distress Oxide ink. Tip: Make sure your textured paste is fully dry before ink blending over the image. Otherwise you could have a big fat mess. Trim this panel to 3 7/8 x 5.
Last Details
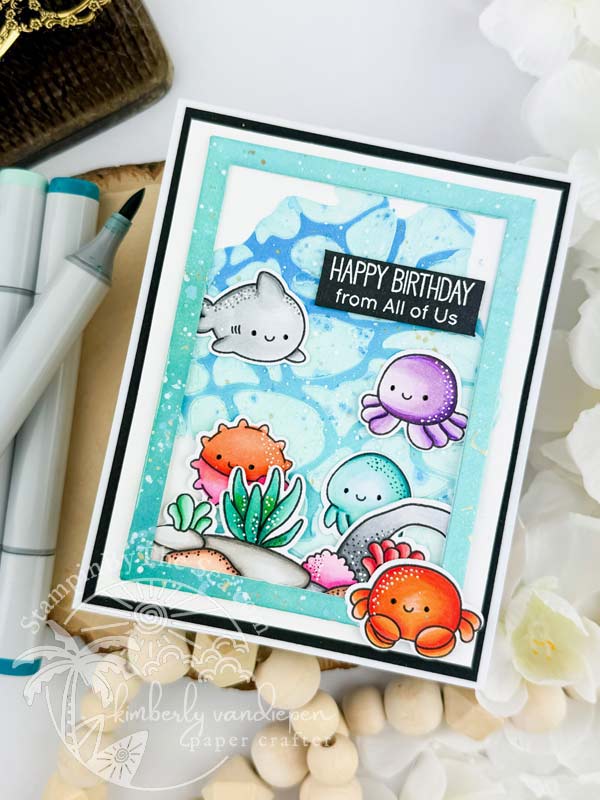
Once the paste was dry, I cut a rectangle panel from the A2 Rectangle Frames from a piece of Neenah Solar Classic Cardstock, ink blending with Tumbled Glass and Salty Ocean Distress Oxide inks. I placed this over the stenciled image, while tucking my Reef colored images at the bottom and securing with Foam Adhesive for dimension. Next, I added the other sea critters onto the panel using my Glue Press.
In addition, I used Alabaster White Embossing powder from Brutus Monroe onto Black cardstock for my sentiment and placed at the top of the card with foam adhesive. The entire card front (3 7/8 x 5″) was placed onto a piece of Black cardstock (4 1/8 x 5 1/4″), then placed onto my card base (4 1/4 x 11″).
The last details added was some white and gold splatter.
Copic Markers Used
- Shark: C5, C3, C1, C0
- Crab: R17, YR07, YR04, YR02
- Octopus: V09, V06, V04, V01, V000
- Squid? or Jelly Fish? BG49, BG13, BG11, BG000
- Blowfish: YR68, YR65, YR61, RV06, RV04, RV02, RV10
- Rocks: N5, N3, N1, N0
- Sand: E13, E11, E01, E00
- Sea Kelp: Y08, B02, BG13, BG49; RV06, RV04, RV02, RV10; Go5, G02, G00, G000; R27, R24, R22, R20

Chatty Update:
I’m back from my long week away with the kiddos and excited to report they came back home for a few days so we can celebrate Brandon’s birthday. I changed up my work schedule this week so I can work in the morning and be with the kids in the afternoons. I’m getting ready to start my summer work schedule which includes longer weekends Friday-Monday off, giving me a bit more work life balance and of course, STAMPING!
I often giggle as I find myself with an ever growing craft room. The reality I never thought I’d be back in the ole stamp room. So many of my crafty things were sold with the intent to never stamp again. I giggle now because the fire I had for stamping back when I started in 2003 has re-surfaced. This time around I’m not letting myself get to the burn out stage. It’s REAL and UGLY. Totally not enjoyable. I want to enjoy the process of creating because it feels GOOD. And if I’m honest, the coloring aspect is one of the most therapeutic things I’ve done for myself. It helps relieve a lot of work stress. If you are new to Copics or have questions, let me know in the comments. I’d love to share some things I’ve learned over the last year.
Okay, until next time…
Lastly, thank you, as always, for taking time to read today. Make sure to subscribe and receive updates right to your email. You will find the subscribe button on the right side bar.
I hope you enjoyed today’s card!


