

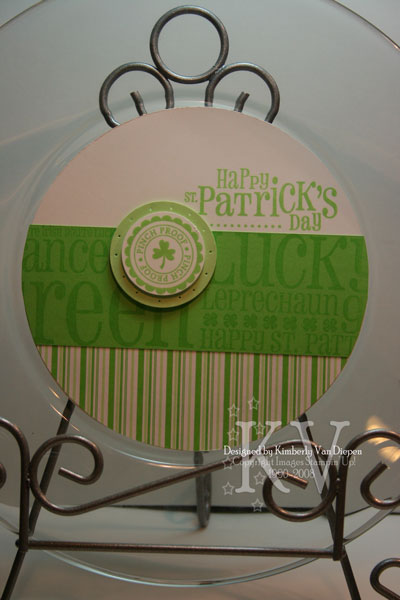
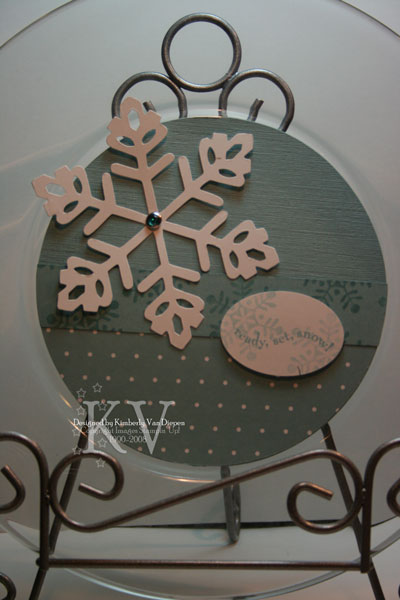
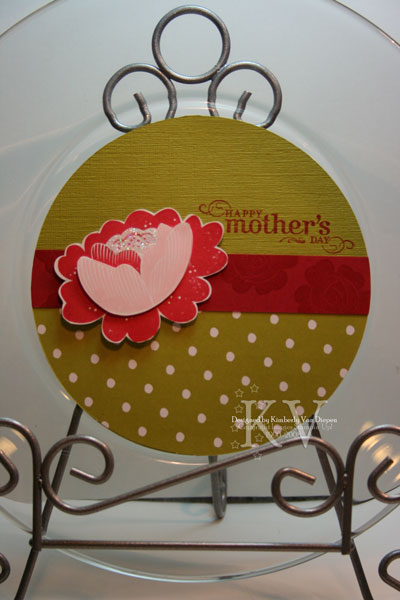
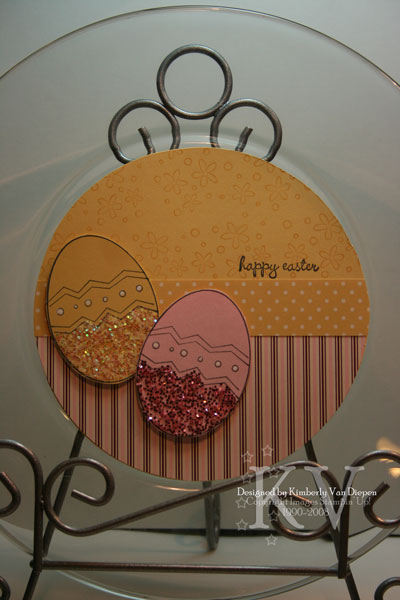
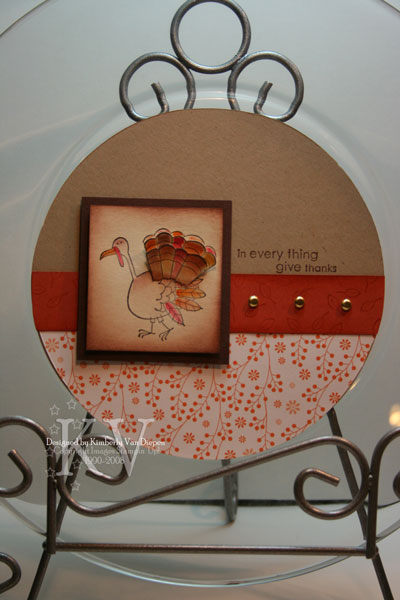
It’s been a busy weekend here in my stamp room and you are getting ready to see why! Today I held my Stamp Camp and they were SUPER busy stamping these circles for their very own decorative plate. While this was plenty of work, it’s such a great gift you can give to any family or friend this holiday season. They can keep this for YEARS to come. I was even thinking of doing round scrapbook pages for my mom with the kids pictures matching the holidays for her decorative plate. The possibilities are endless on this one. I hope this gives you some inspiration for your own. My Decorative Plate class included 13 round discs. 12 for the Holidays and 1 birthday disc. It included TONS of stamps, designer paper and do dads and this all the products used are Stampin’ Up!
Here they are!


.jpg)
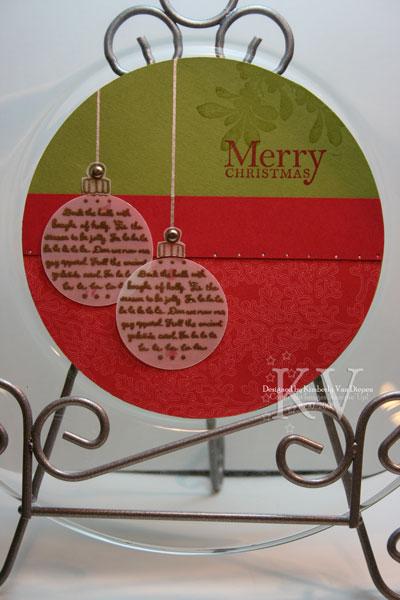

There ya go. All 13 of them. I hope you find some inspiration in these decorative plates.
Have a FABULOUS week!
*****Edited to ADD****
Wowser! You guys need a few more deets on how these things attach. LOL!
Each round disc is attached to the plate with glue dots on the backside of the disc (round circle thing). I place a glue dot at the top and then at the bottom. I found that the glue dot comes off very easy when I want to switch out the disc for the next month. Now, if there is sticky left on your disc/cardstock you can place these between wax paper after you are done using them. This way they will pop off the wax paper fairly easy. So, you only need one plate. I found my plate at World Market. They run about 2.99 per plate. I did use a coluzzle to cut the circles, but my coluzzle is a LARGE circle. No, Stampin’ Up! doesn’t have this size… (spank my hand) but it worked and they fit perfectly on the plate. I found this size coluzzle YEARS ago.
I hope this helps!


7 thoughts on “Decorative Plate Stamp Camp”
These are beautiful! I really need to make some of these. Thanks for sharing!
Love this project!!! Would you please share some more details? Do you do this with only 1 plate and just switch the paper out each month or do you use 13 plates? How do you attach everything to the plate? I’d love to make a set for myself.
Thanks for a great blog,
Pam
Love your plates! 13, OMG that’s a lot. I love how simple but nice they are, not too many embelishments.
Cindee
I just have to say, wonderful, I have been toying with the idea of making the plates now you have me geared up and ready to go……Thanks
Thanks for updating and giving us more details! You’re a sweetheart!
Pam
I liked your plates even better than the ones we saw at convention, which were already nice, but I LOVE that you did 13. Yes, I’m sure it was an undertaking, but I hoped for one a month, so 12 in all with at least a birthday. You really did a great job! thanks for sharing.
You ARE THE BEST KIMBERLY! I LOVE LOVE LOVE everything you do! See you soon in Canada…WOO HOO! and THANKS for being so willing to share your awesome creativity with those of us “creatively challenged” types! 🙂
Comments are closed.